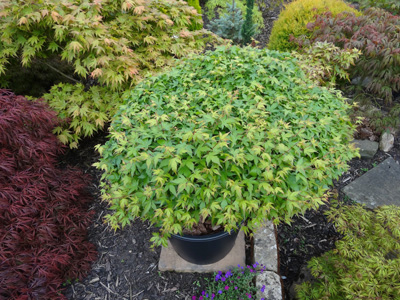
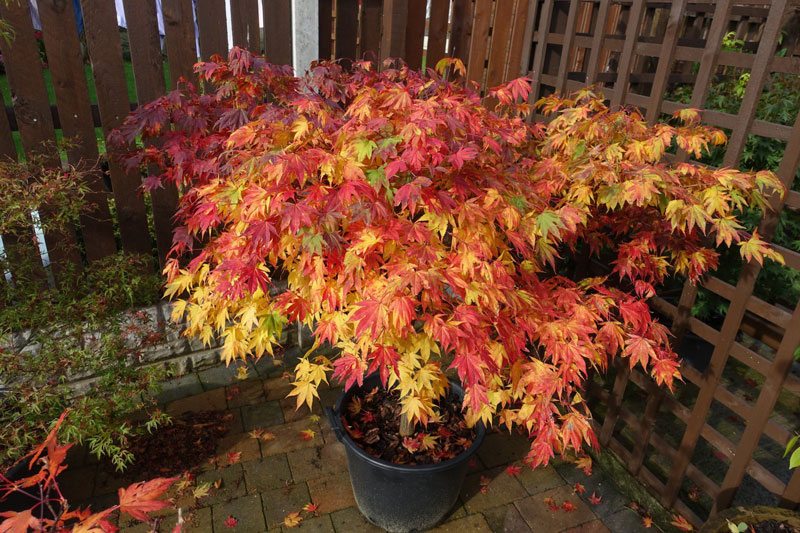
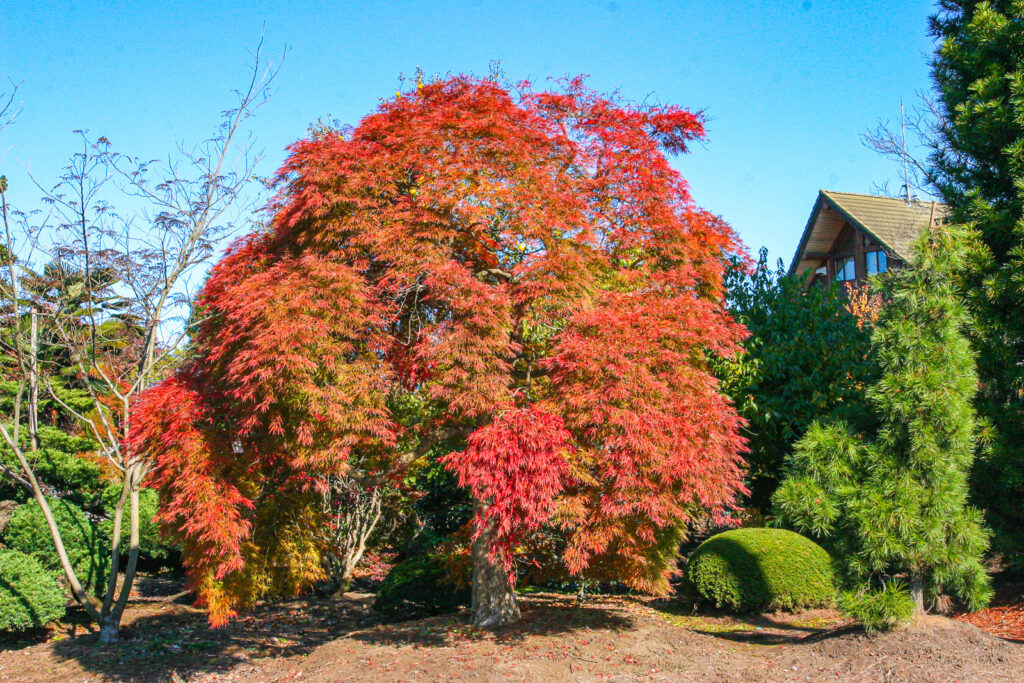
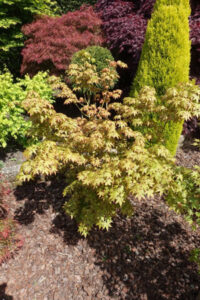
A well-pruned maple is a thing of elegant beauty, a statement to wow your friends and neighbours, and often the most photographed tree in the garden. When needed good pruning creates a structurally sound tree, with healthy, balanced growth, that is better able to deal with environmental stresses such as extreme weather or pest and disease attack.
When to prune?
Summer is a good time to prune your Japanese Maple as it is full of energy from photosynthesis, meaning that will easily heal any cuts. In summer, look to prune while the maple is not enthusiastically growing: between the spring and summer growth periods. Try to avoid pruning in spring as the sap is rising from the roots to the tips of the branches and cuts can bleed profusely, which is stressful for the tree and possibly you too! In order to reduce the chance of fungal issues, which thrive in damp conditions, carry out pruning on a dry day. Mid-winter is a better time to make large pruning cuts, as doing so in summer will remove a lot of foliage which can lead to a large loss of energy for the tree.
There are occasions when you may have to prune at a time that is not ideal and this could be due to an unavoidable incident, for example a storm that has damaged a branch and left an untidy wound. In this case, it is probably best to prune to create as clean and neat a wound as possible to give the tree its best chance of healing. Avoid pruning any trees that are under environmental stress, such as drought. If a tree is not in full health with plenty of reserves, pruning can often make things worse as it may then be faced with having to heal new wounds with depleted resources. Once an ailing tree’s health has been restored via good husbandry, then pruning can take place. The exception to this rule is when diseased or damaged wood must be removed.
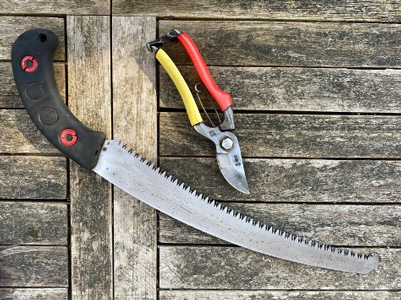
FIGURE 1: Clean, sharp tools are of the utmost importance
Which tools to use?
A good quality pair of bypass secateurs and a pruning saw (FIGURE 1) are all you really need when pruning but the most important thing is that they are clean and sharp. A cut made by a sharp edge will heal much more readily and with less scarring than one carried out with blunt blades which can tear the plant tissue and leave jagged edges. Equally, cleanliness is vital to stop the spread of disease between branches and trees and the simple wiping of blades with surgical spirit or rubbing alcohol will work wonders.
For larger cuts use a pruning saw, ideally one which cuts on the pull stroke, as this will make an excellent cut that will heal well. Don’t use loppers to prune as they are much clumsier than secateurs and can easily damage the thin bark.
How to prune?
Firstly, identify any damaged, diseased or dead wood, all of which should be removed.
Approach with a clear idea of what you would like your Japanese maple to look like once pruned, then trim a little, stand back to look, trim a little more and so on until you’ve achieved the desired result. Aim for a well-shaped tree with an open habit that allows plenty of light and air into the canopy; this not only looks pleasing but keeps the tree in the best possible health.
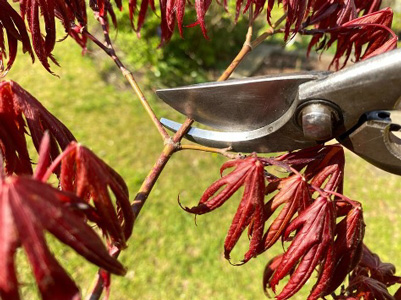
FIGURE 2: Pruning in front of a pair of buds allows successful compartmentalisation
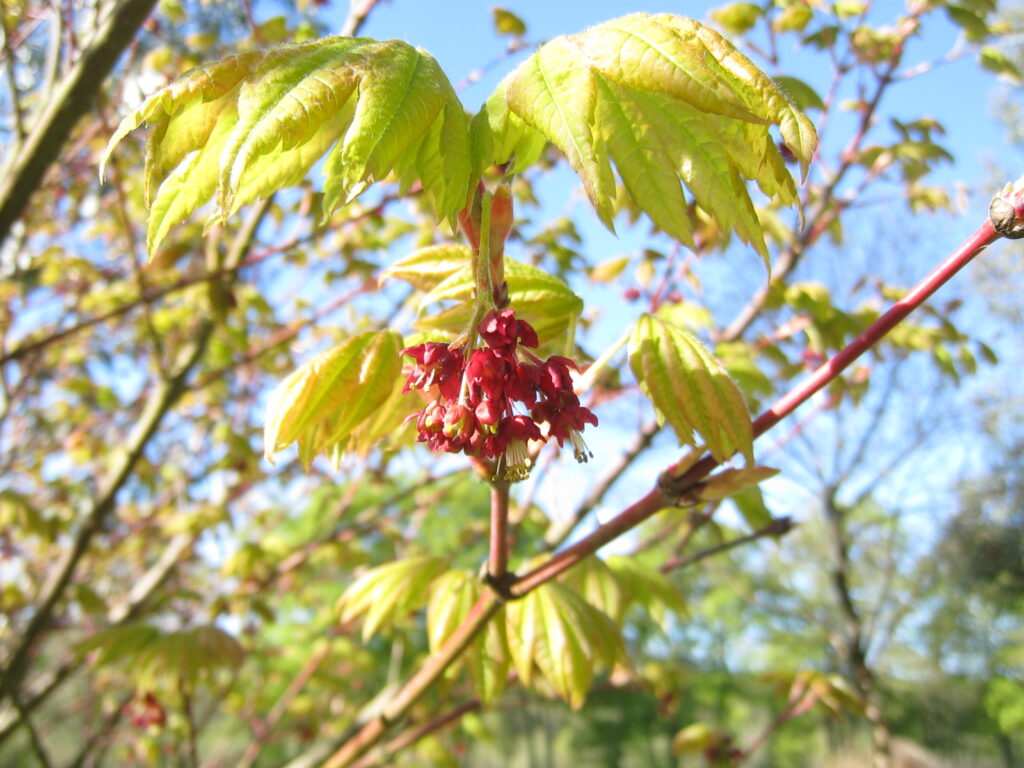
All maples have opposite leaves, and each pair of opposite buds on a stem is (almost always) set at 90 degrees to the next and previous pair. In other words, when one pair of buds is in the same plane as the ground, the next pair will be perpendicular to the ground. This allows you create that wonderful ‘layered’ look with your Japanese maple. To achieve this, always prune to just in front of a pair of buds that are in the same plane as the ground i.e., horizontal.
When pruning anything as thick as a pencil or less, try to make the cut around a centimetre in front of the buds (FIGURE 2). This will allow the wound to be successfully compartmentalised or ‘walled off’ to ensure die back doesn’t occur down the stem. A wound will always heal better if there is a consistent flow of sap nearby and so it is ideal if there is a bud on either side of a newly made cut. In the image (FIGURE 3), you can see that dieback occurs on the side without a bud.
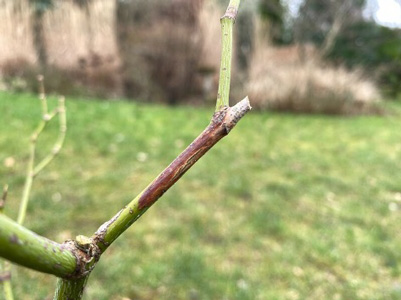
FIGURE 3: Reduced sap flow on the underside has resulted in dieback
When using a pruning saw, first make a cut higher up the branch to remove some of the weight and avoid the risk of tearing the bark. The final cut should be as close to the branch collar as possible to ensure the best healing (FIGURE 4); ‘flush’ cuts are be damaging and can allow the entry of disease into the main trunk which the tree may struggle to recover from. Conversely, leaving too much of a stub means the tree cannot heal the wound successfully and this can lead to the chance of rot setting in. Cutting at the branch collar lets the tree heal as quickly and naturally as possible. Don’t use cut paste or sealant, just leave the area open to dry and heal naturally.
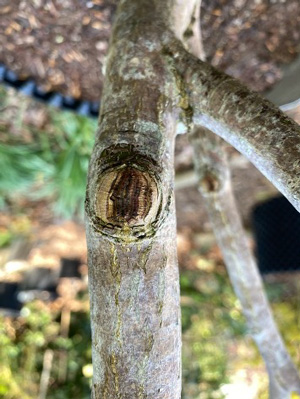
FIGURE 4: Successful occlusion has resulted in a well-healed wound
The best way to avoid making large cuts is formative pruning, carried out when your tree is young. This minimizes injury and maintains its future aesthetic. You need to visualise the growth habit of the tree some years into the future: creating a young tree with a good structure and imagining how certain young stems will grow and mature is the very best way to ensure a happy, healthy tree with a beautiful structure.
A well-pruned tree should look like it has never been pruned at all.
Miles H., Sussex, UK

 Can’t find what you’re looking for in the FAQ? Maple Society members can ask the Society directly about their maple problems.
 A Japanese Maple is really any maple that is native to Japan. As well as what we commonly call “Japanese Maples”, there are quite a few other beautiful species: “Snakebark” maples, “Trident” maples and large trees like the “Painted Maple.”
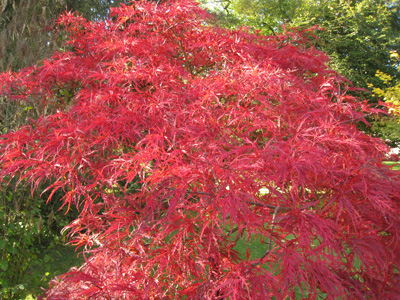 It’s amazing to think, but these four species alone are so variable in size, color, leaf shape, bark and autumn color that they account for thousands upon thousands of named Japanese Maple selections available on the market!
 Because of the vast varieties of Japanese Maples – dwarfs, uprights, reds, greens, laceleafs, variegated and more – and the difficulty of knowing for certain to which species they belong, the Maple Society has adopted a simple classification aimed at helping the consumer know what they’re going home with. Find out more about the
  When you shop in a nursery or garden center, you’ll notice that the Japanese Maples often have specific names. Some of these are descriptive, (like ‘Rhode Island Red’), some are Japanese, (‘Sango kaku’), and some seem to make no sense at all! These names are how we describe cultivars. Broadly speaking, a cultivar is a selection of a plant that has some desirable features, like great autumn color, interesting leaves or bark. The person who discovered it decides the name, and starting from that point all new plants are made by forms of cloning. That means that every ‘Uncle Ghost’ is genetically identical to the first one. Nursery people show this by using single quotes around cultivar names.
 Most Japanese Maple cultivars are produced by grafting, which is a cost effective way to make strong plants that are identical to the original in every way, even if the original selection – and quite a few Japanese selections were made hundreds of years ago – is long gone. Other cultivar reproduction methods include rooting and air-layering, favored by Bonsai artists.
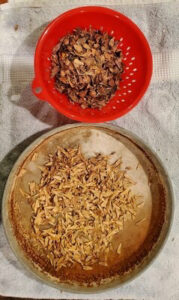
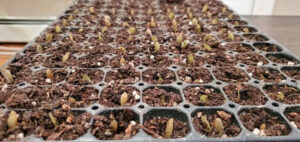
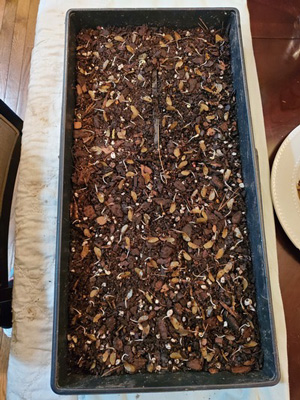
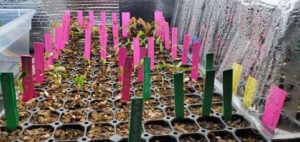
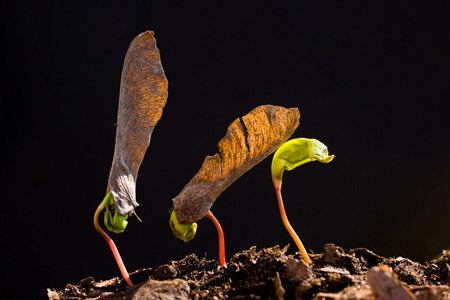
 One reason we have so many excellent cultivars is because Japanese Maples vary so much between generations. That’s also a reason why growing seedlings is so much fun: you never know what will happen, and maybe you can name a selection too!
 Potted PROS: